Part 1: Joining the body parts toghether
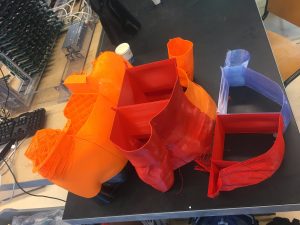
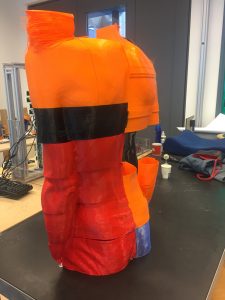
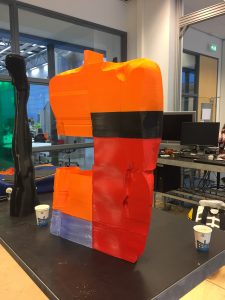
We started this project to improve the ultimaker XXL: two 3D printers put upside down that together are able to print large objects. The first large project we started with was already underway, namely the printing of an entire upper body. Within the first week we finished printing the missing body parts like the shoulder (read further to read about our experiment). We used a soldering iron to put the separate pieces together, the heat melted the plastic creating a nice smooth weld. Furthermore we removed the excess parts and filled up some holes to make the final object look nice.
Part 2: experimenting with overlap
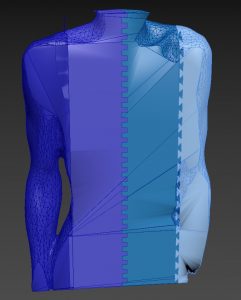
To make a print with the Ultimaker XXL, you need to split the object into four compatible pieces. This preliminary action is necessary because each printer is restricted to a printing surface of 20 by 20 cm. After this the slicing program automatically produces the g-code, which is then used to print. Each printer then takes 2 of these objects. The two printers each simultaneously print one part, then both switch to the second part and print those. The final print is made by printing these four parts close together to make the final object. The total simply sticks/glues itself together because of the bleeding effect: the printers overlap a little and the heat melts some of the previous layer and thus melting both old and new layer together. However this can also caused problems, for instance when the distance between two objects is too big, so that they are not combined correctly.
Our objective is to experiment with different ways to combine the sliced parts of the print so this problem can be solved. In order to facilitate this we researched and designed different ways of connecting the parts. Finally we printed a part integrating and trying out all these different designs to later compare the result and build on from this.
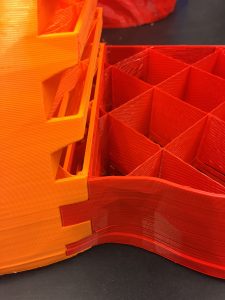
Two of the tests were “puzzle pieces” (showing left) and the other,(right), we allowed an overlap between the two objects. In this Image you can see that it double printed the overlap part and this made the connection very strong. This seems to be the best and fastest way to combine the parts together. Therefore, we intend to investigate more versions of this type of connection.
Part 3: alternative overlap moddeling
The previous post explained about our intentions to improve the overlap method, both from a mechanical and visual design perspective. We explained about our first attempts to create various overlap types and make a test print. However there is an alternative method of implementing these overlaps namely implementing them directly into the 3D model.
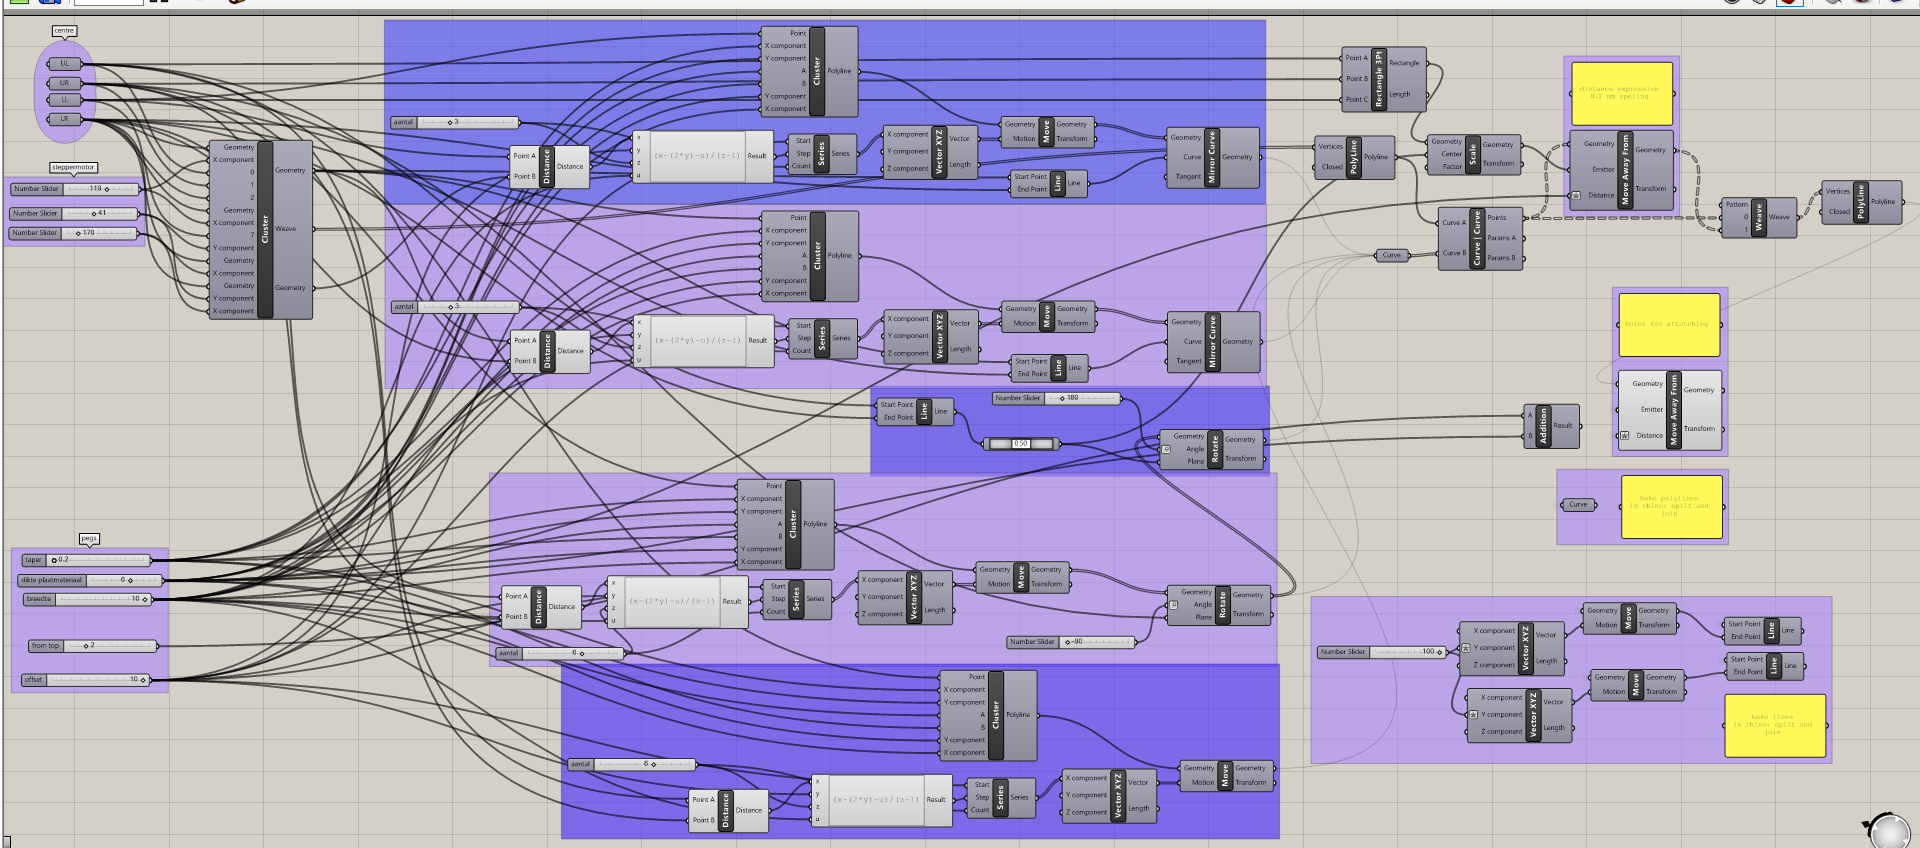
To facilitate this feature we builded a grashopper programm that allows a user to cut his or her object into a desired number of parts and implement the desired overlap mechanics. This all can be done by adjusting 3 sliders in the programm, the result is directly visible in your model as a preview. Another benefit of this method is that the overlap is more easily adjustable, the same goes for the number of cutting lines/parts. This feature is particulairy interesting when printing very large objects with varying crossection.