Intro
Cover works 2.0 is the follow up of the Coverworks project. Here we designed several covers for different compartments of the XXL Ultimaker. Each of these design add to the objective to create a more simple and approachable exterior while maintaining user comfort.
We strive for creating our designs at a low cost. By using scrap material and a lot of creativity to our advantage we fabricated pieces that either costed nothing or but a few cents.
Part 1: The RaspberryPi casing
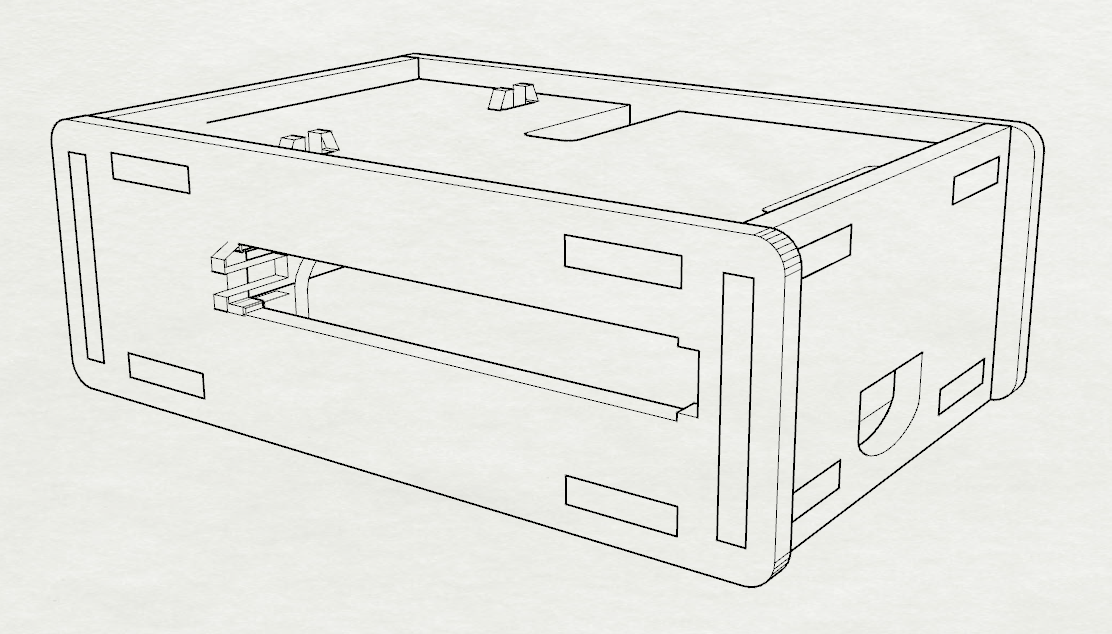
In the preview of Cover works part 3 we revealed our intention to design a Casing for the RaspberryPi. The casing will protect the breadboard and allow users to reach it more easily. Furthermore, the casing provides as a handle with which you can hold the Raspberry, for example to plug-in the ethernet cable.
We have two different models of the Pi; Pi 3 model B and Pi 1 Model B revision 1.2. Both have different locations for the connectors. For the Pi3 models for a case are readily available, but for the Pi1 we will probably have to edit the model for the Pi3.
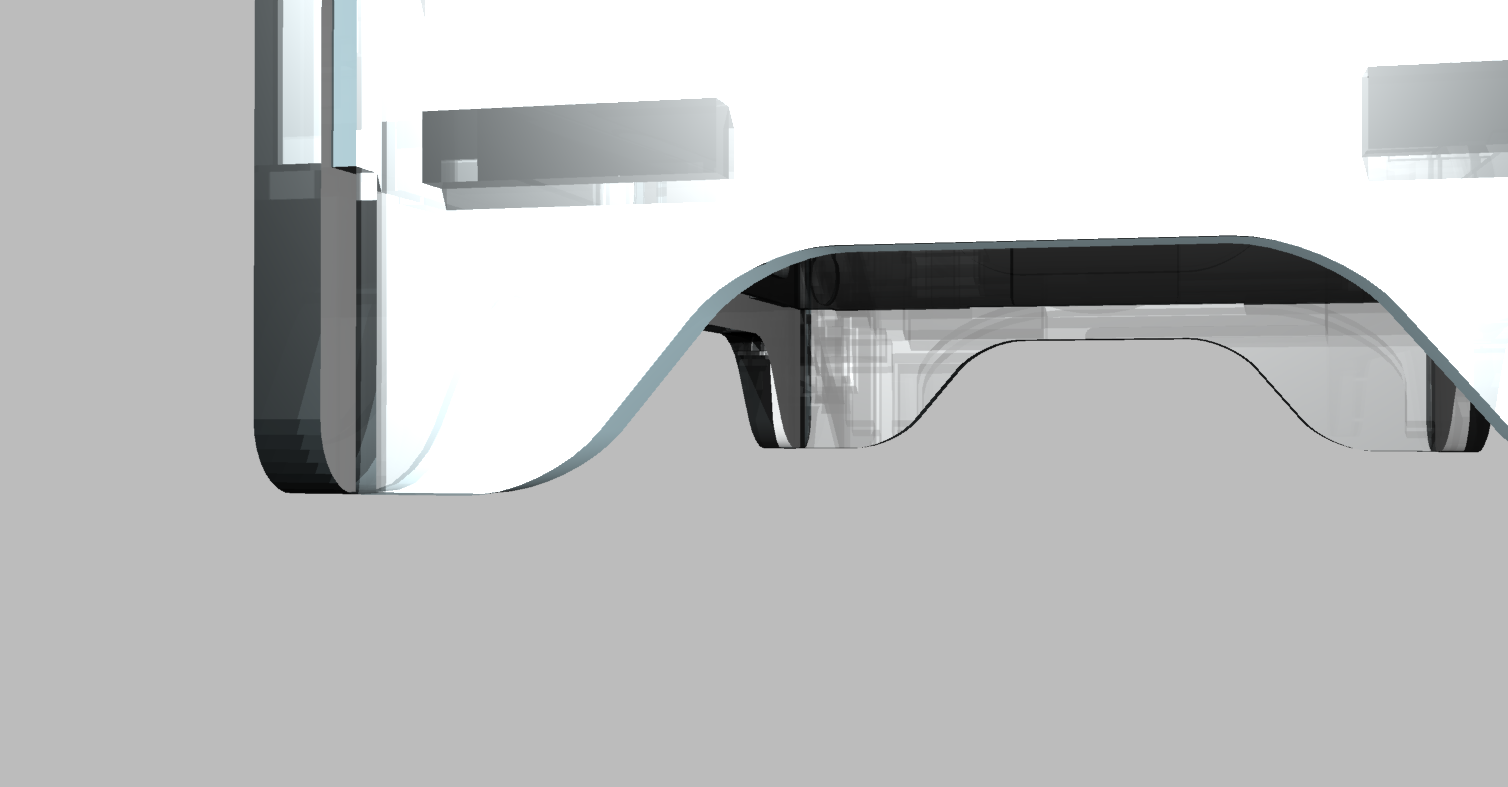
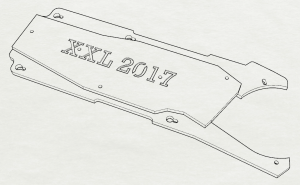
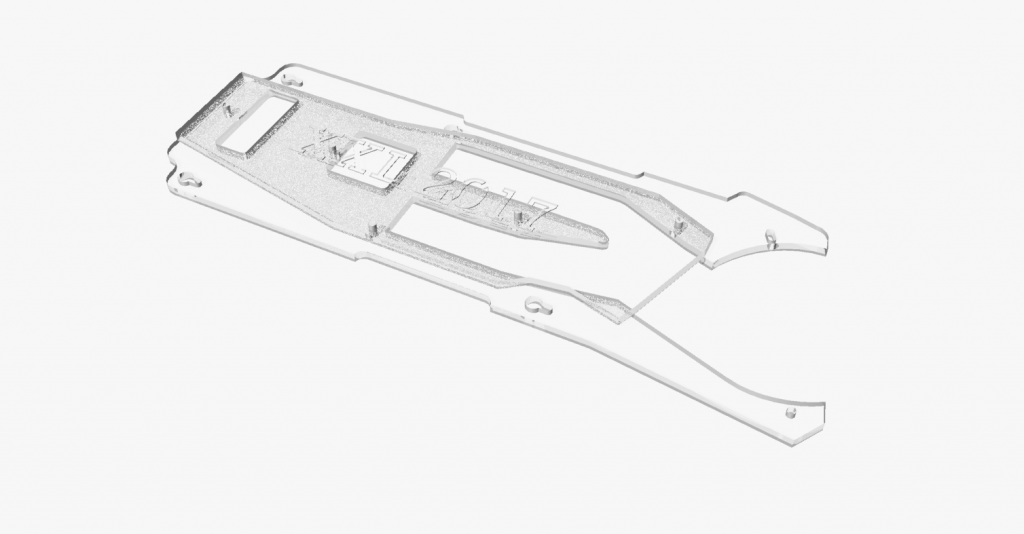
A fun adjustment in the shape is the addition of the little feet. The feet were nessecary since the Pi casing is oriented within the cover where the other hardware is placed. Since there are so many other cables crossing its path, we decided it would be smarter to add the feet and make the casing float above them. This way none of the cables get tangled and the Pi casing is easily removable. The shape of the casing is inspired from the original design of the ultimaker.

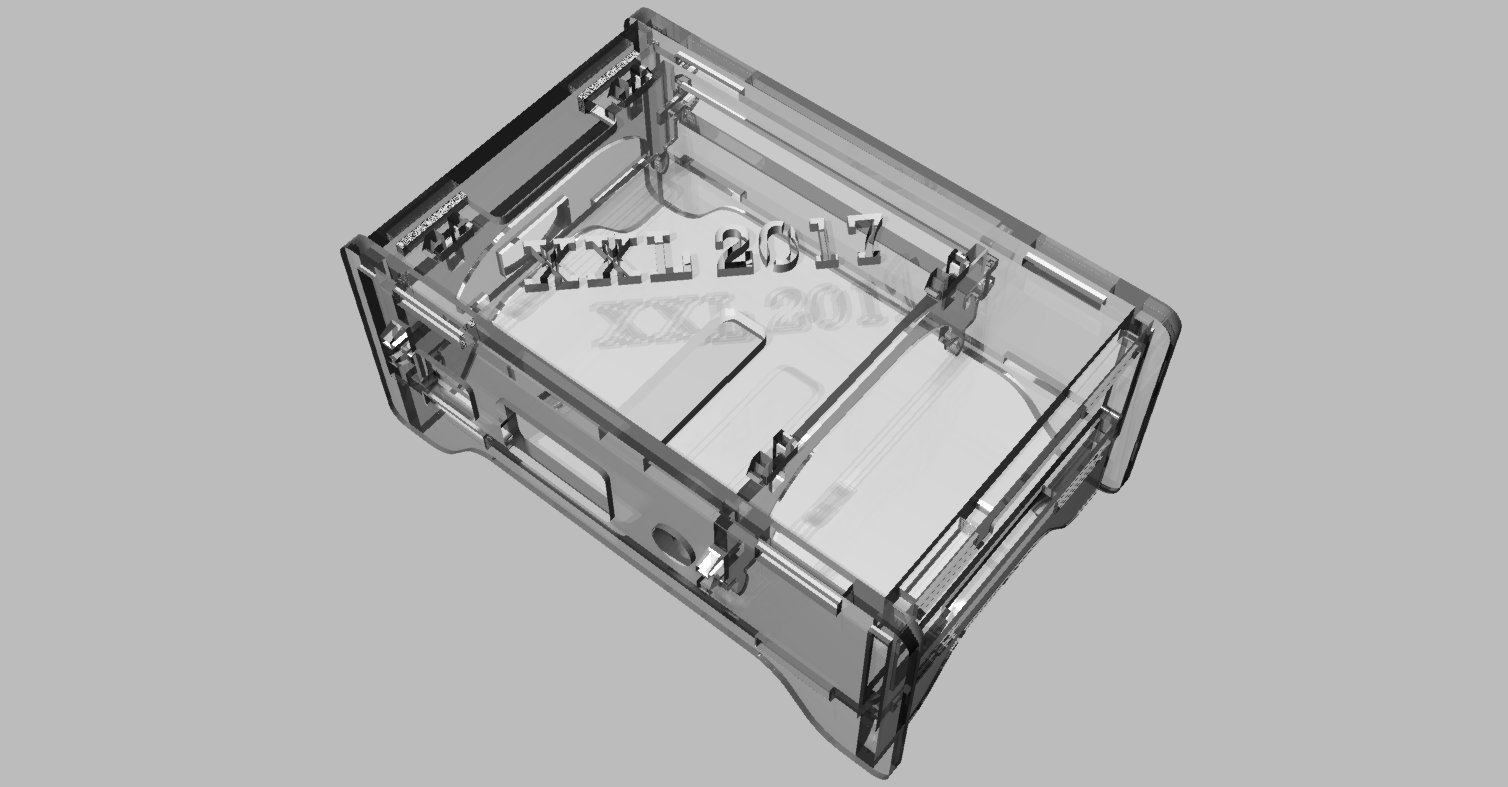
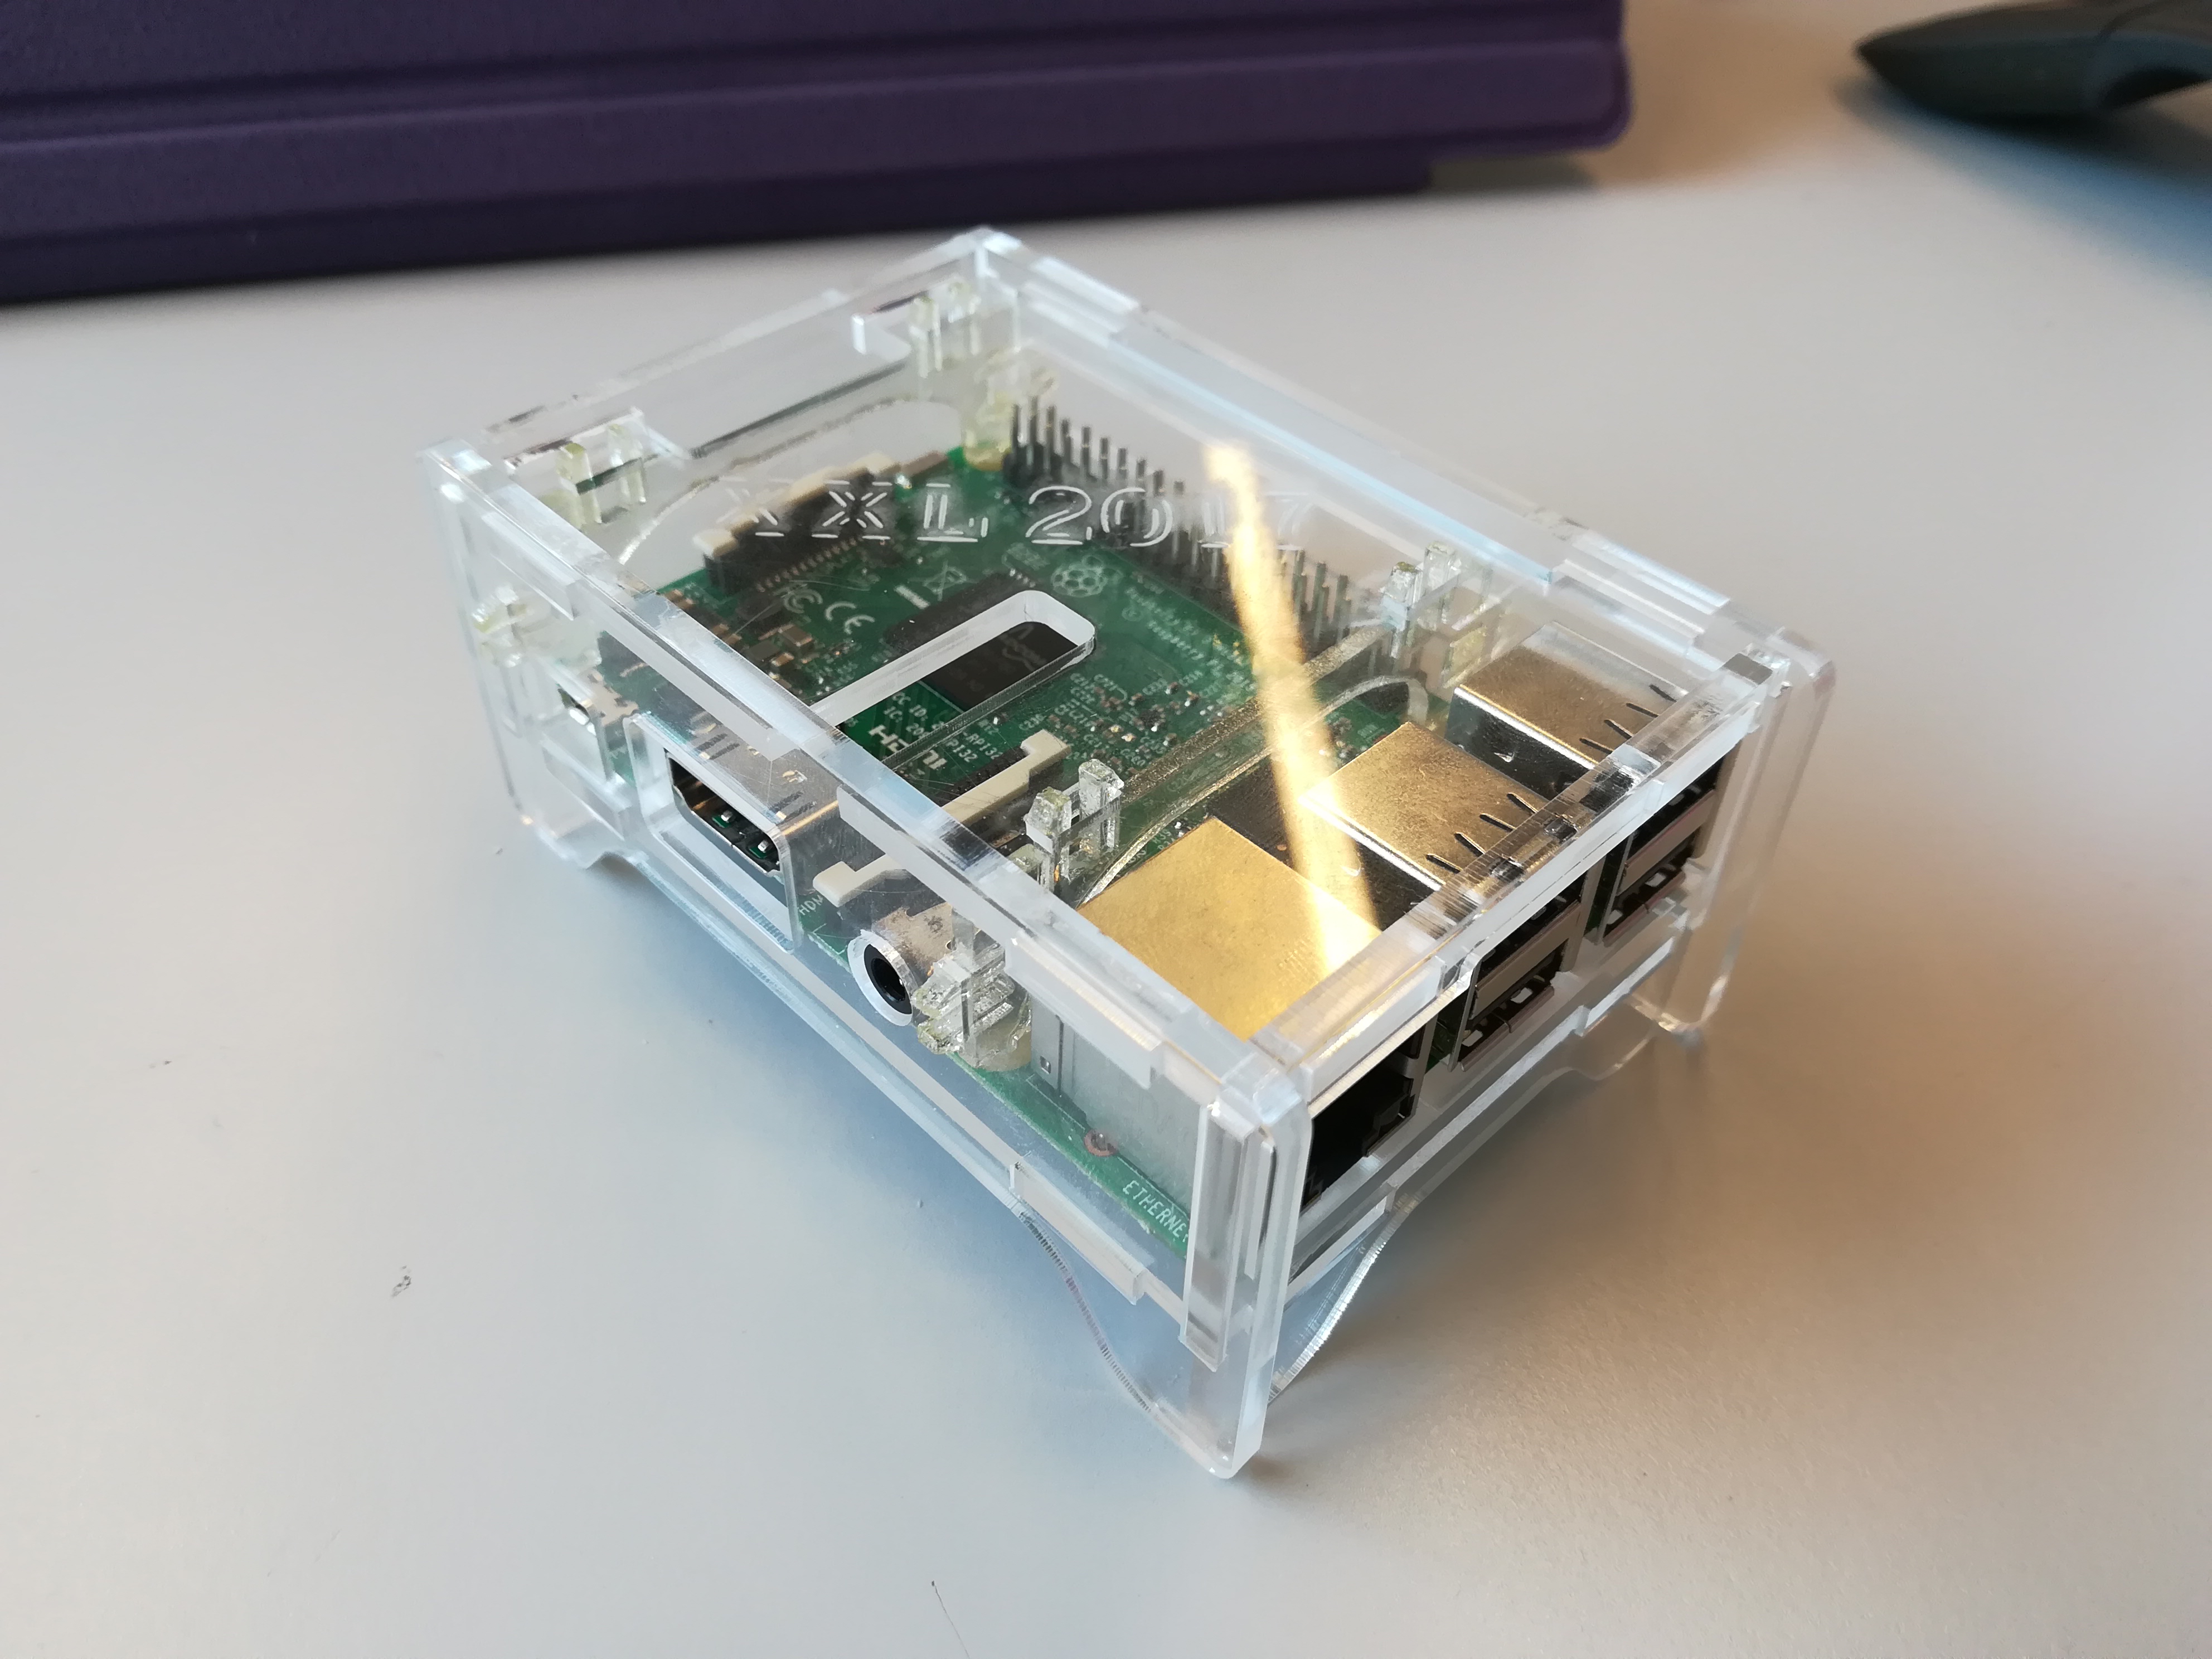
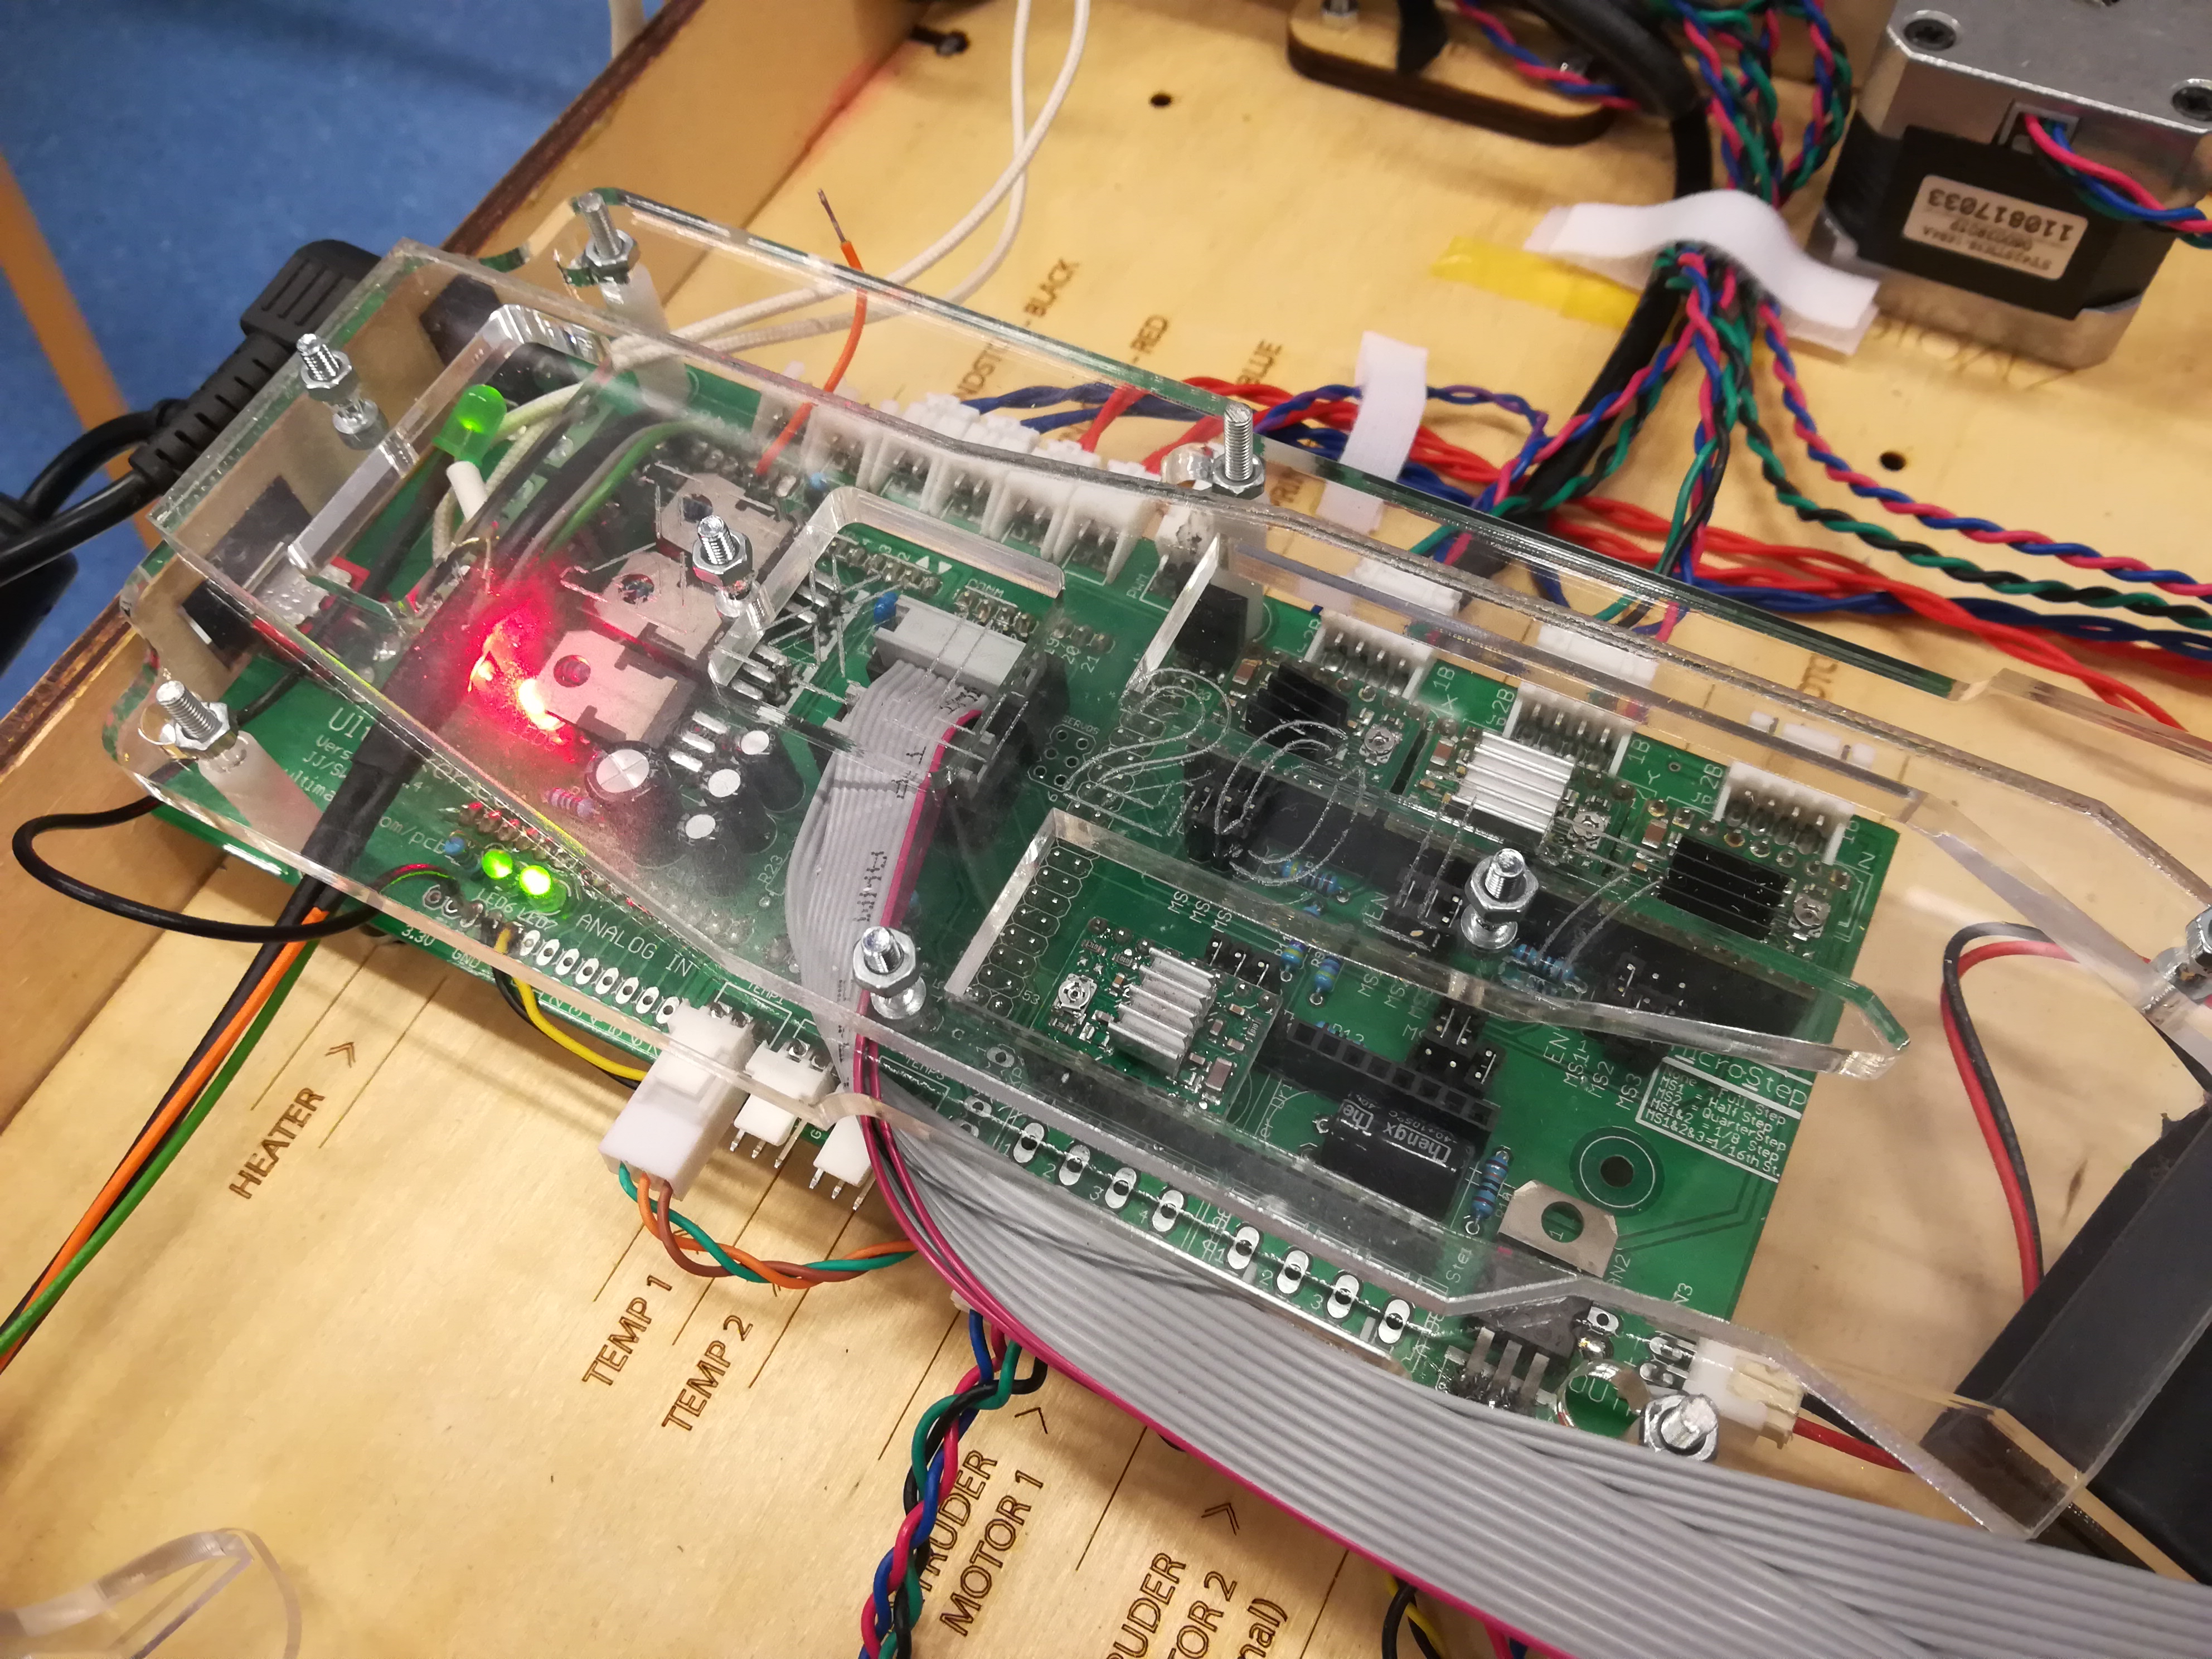
Last but not least we lasercut the design from translucent perspex and engraved our logo ‘XXL 2017’ on top of the cover. The translucent casing allows you to see the Pi within, so for example you can directly see if the Raspberry is turned on by seeing the red light.
Part 2: The Ventelator casing
The second cover upgrade is found in the air cooling system. Originally the ultimaker comes with a prefabricated casing to guide the air from the vent over the breadboard for cooling. However in the new setting of the ultimaker these are not applied, instead folded paper is used to do the job.
We desided redesign the original vent cover with a twist. The casing will match the cover and the Pi casing by fabricating it form translusent perspex and by engraving our logo into it.
Again by using the translucent perspex the breadboard is protected while maintaining the visibility, allowing total transparency of what is happening with the printer. For example showing the green LED that flickers to indicate the Slave is waiting for the master to finish its layer.
Part 3: The Brand sign
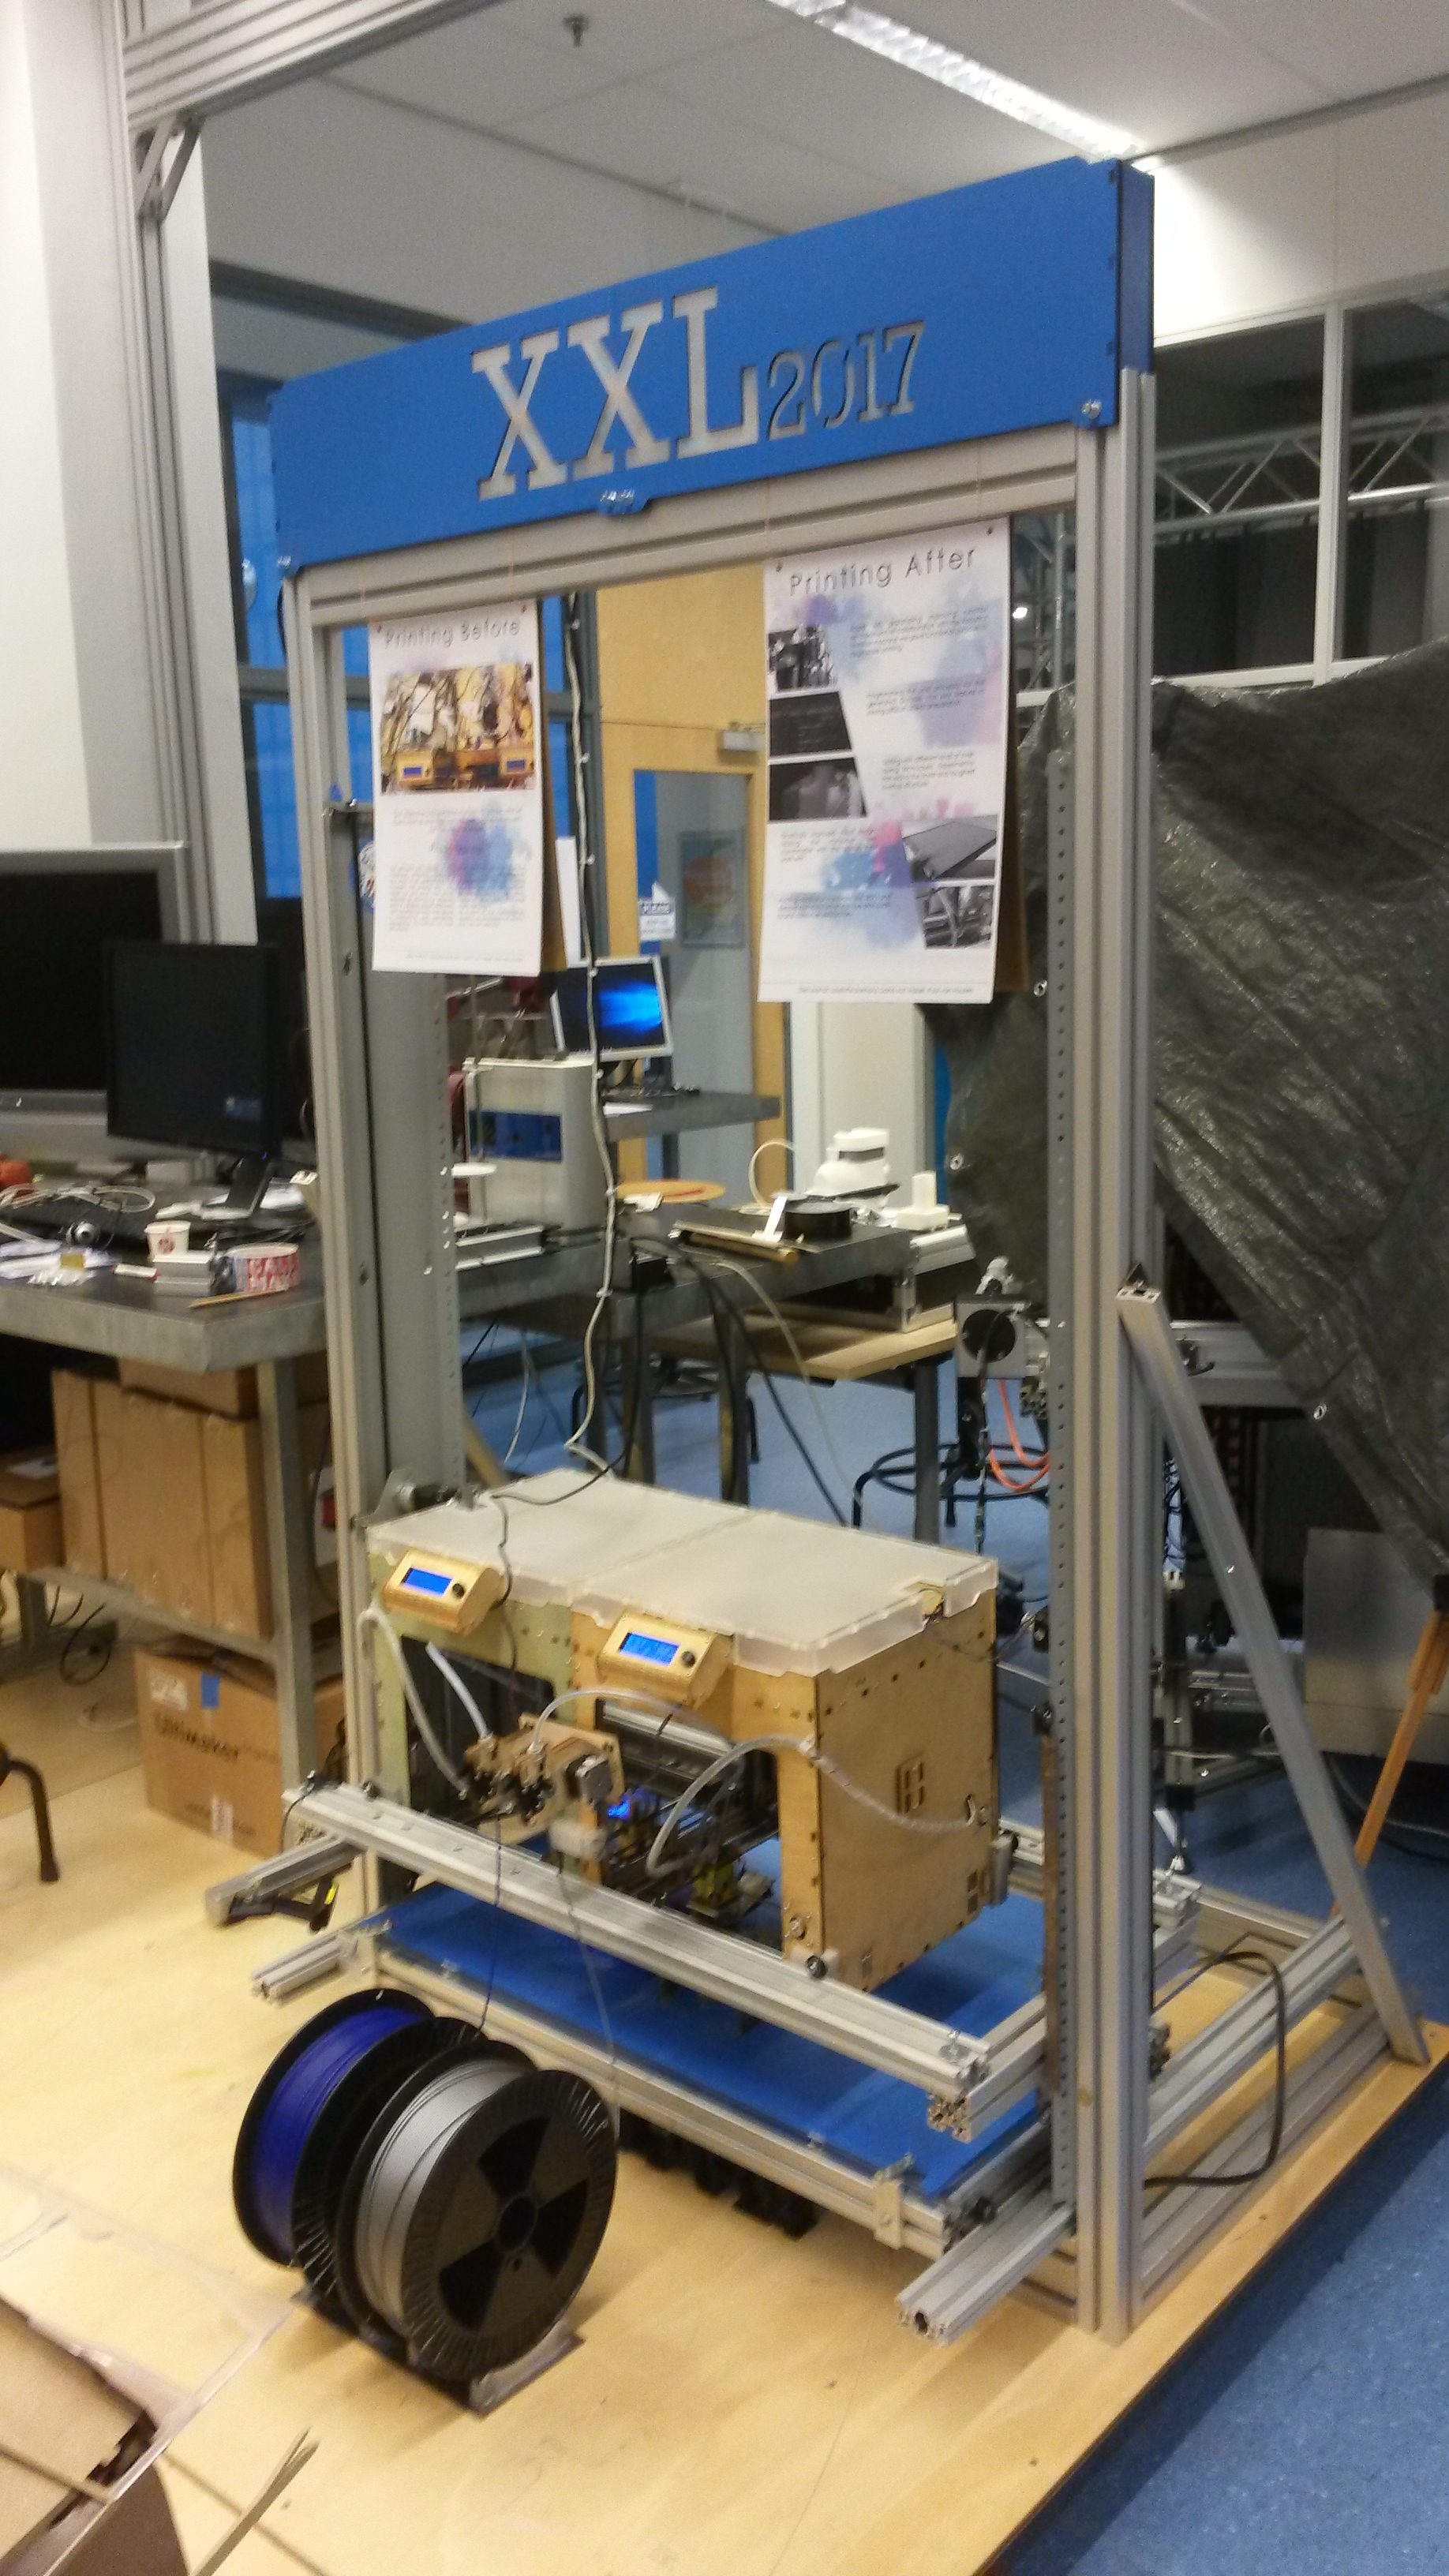
The final Cover design is the Brand sign that will be placed on top of the framework.
Furthermore, the design will include full coverage of the adapters that are currently placed there. The sign will include our logo ‘XXL 2017’ and mimic the design of the ultimaker alike applied to the Pi casing.
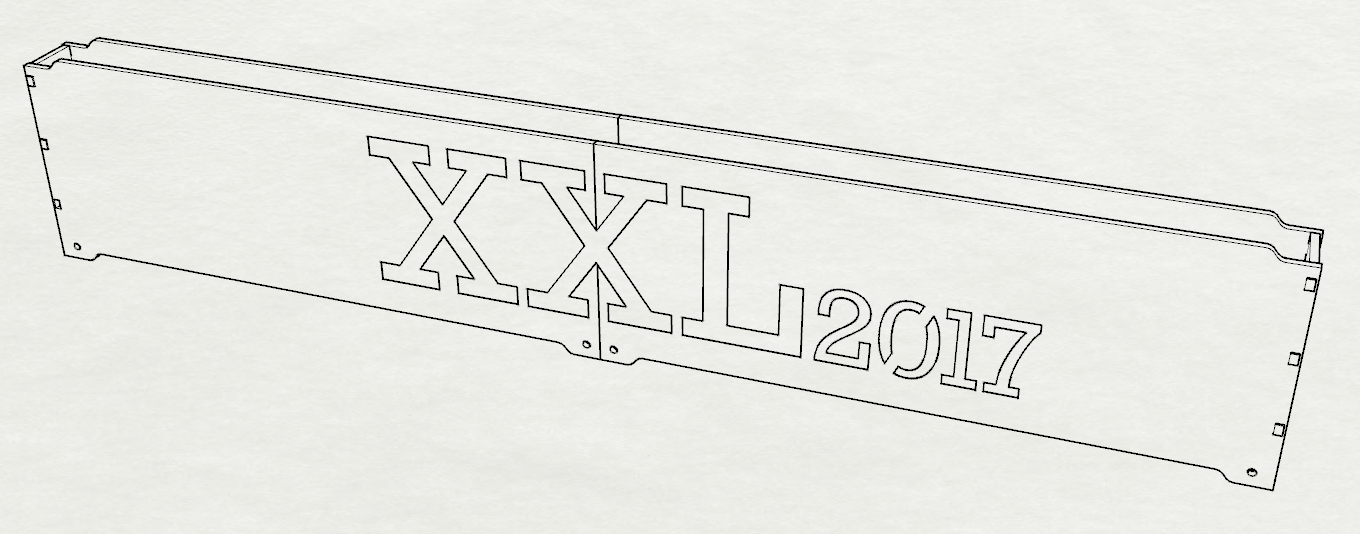
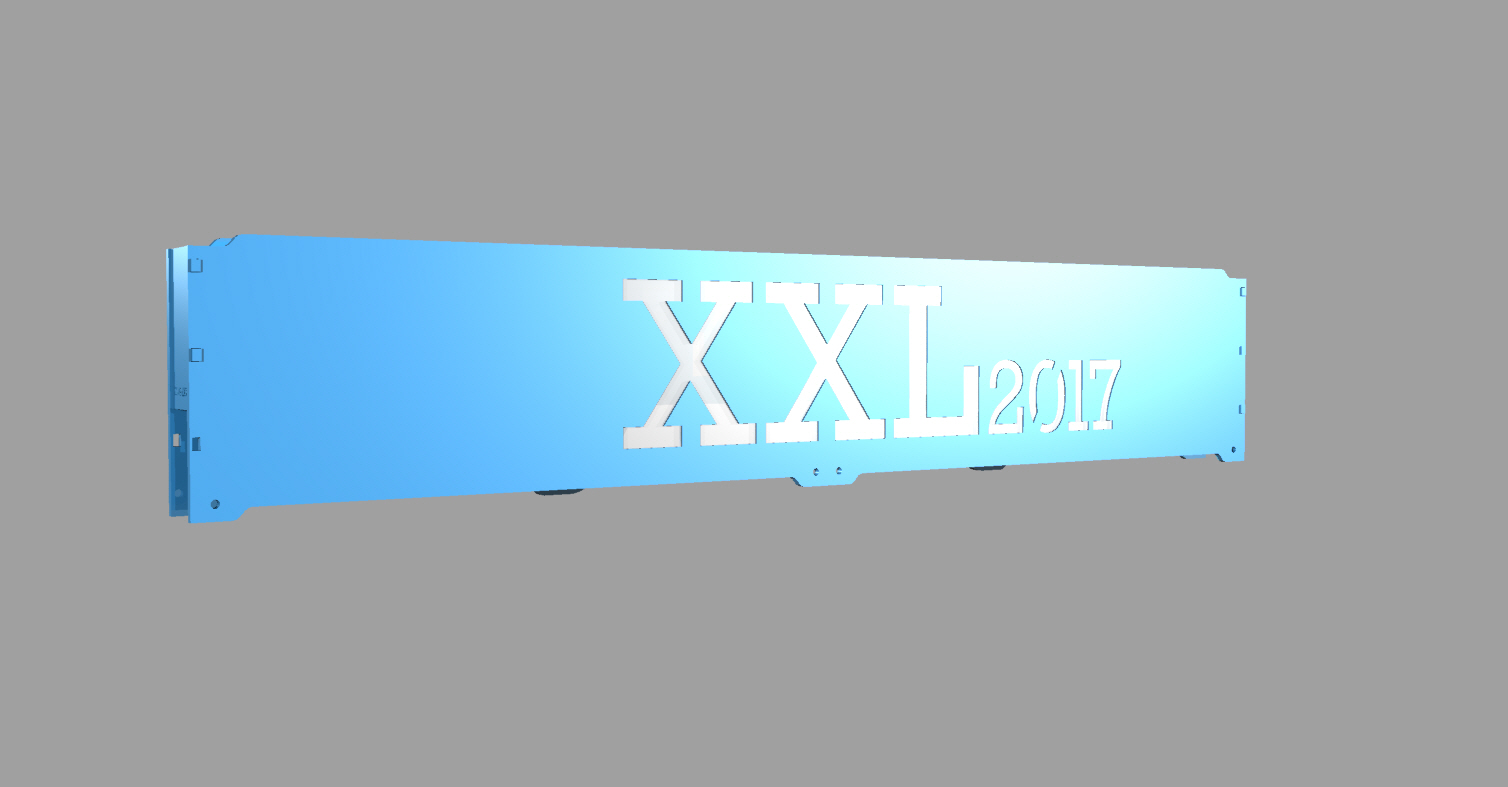
The sign is fabricated from MDF and finished with a glossy blue color coating. The letters of the logo are laser cut from translucent perspex and finished with a sanding treatment making the letters matt.
Due to our desire to make everything as low cost as possible, the entire cover is made from scrap material. However this resulted in a compromise: a difference in plate thickness. This difference is compensated by scaling the connectionpoints so they are flush with the surface when assembled.
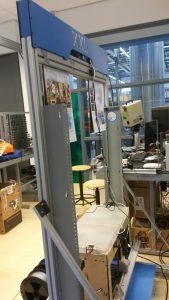
Finally we added the LED lights behind/inside the Sign lighting up the letters. The design resembles the Brand advertising signs you see above stores and along the highway. As explained in project ‘Light it up!’ this also functions as a promotional feature.